Digital Infrared Photographyby Marni J. Bradford
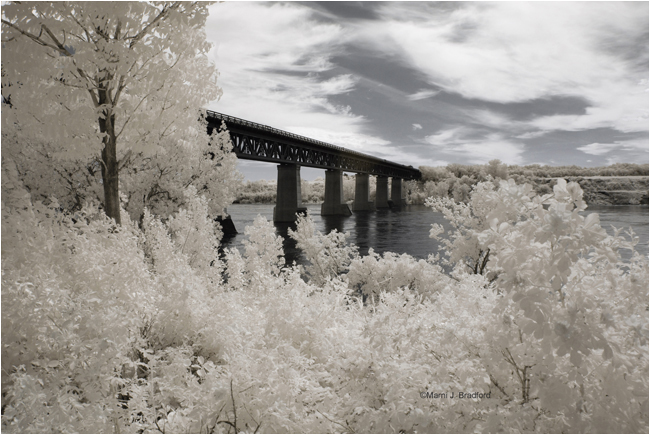
The CP Rail Bridge in Saskatoon photographed in June My first introduction to infrared photography was by a classmate in a photography course I was enrolled in in 2005. She was shooting infrared film and her images were breathtaking – the dreamy, surreal effect really caught my attention. I looked into shooting infrared film and decided that it was too fussy for me; since the film is very sensitive to light it had to be loaded into the camera in near darkness. I knew I didn’t have the patience for that.
An abandoned grain elevator in rural Saskatchewan. Further discussions with our instructor led me to learn that you can also shoot infrared by attaching a special filter to the front of your camera lens. The most common filter is an R72 and you can find these in most pro photo shops. Employing this method has its issues as well. The filter is very dark so one needs employ longer shutter speeds and a tripod, and it also makes focusing a bit tricky. If you are looking for tack-sharp photos you need to shoot on a day without any wind.
Reflections. Sometimes when I am editing photos I will do one with false colour and one completely de-saturated and then choose which one gets published to my web gallery. After joining the online photographic world of Pbase and browsing through the photo galleries, I found photographers who were shooting infrared with a converted digital camera. At the time there were very few companies doing conversions, and it was very expensive. Modern digital cameras have a filter installed over the sensor that inhibits infrared light from reaching the sensor. To convert a camera, that filter needs to be removed and replaced with a filter that is essentially the equivalent of the filters that can be attached to the front of a lens. This can be a DIY project but it’s not for the faint of heart – one wrong move and your camera can be rendered useless.
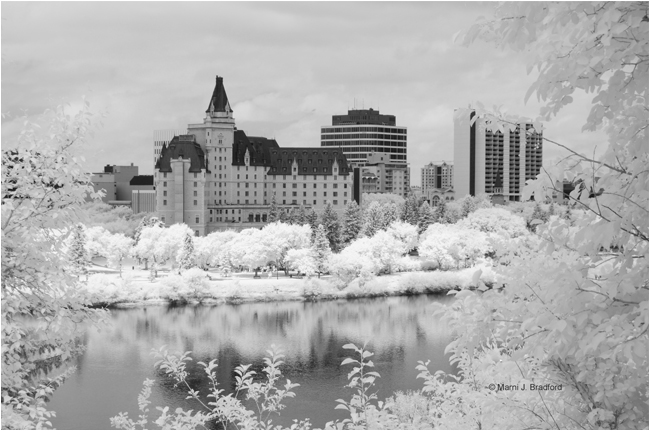
The Bessborough Hotel in Saskatoon, SK as seen from the east riverbank. After getting into a photographic rut earlier this year, I was looking to try something different. It was a debate between working on my portrait photography or converting a camera for infrared photography. I did some research and contacted Precision Camera Repair in Winnipeg, MB to see if they could convert a Nikon D80 (I was already shooting with a D80 so decided to convert a camera that I was familiar with). The cost was very reasonable and much cheaper than sending the camera down to the United States, so I bought a (second) used Nikon D80 and sent it away in the middle of June. A week later I had my camera back and the experimentation began! Infrared light is reflected by green foliage, so shooting trees and grass produce the milky white scene that is characteristic of infrared photography. Shooting a clear blue sky will render it dark, almost black. A grey sky may look boring to us, but an infrared camera will capture all of the tones in it. One of the benefits to shooting infrared is that you can go out and shoot during the day. How often as photographers do we try to avoid the harsh midday sun? With infrared you don’t have to wait until the “golden hour” or get up at the crack of dawn to shoot. The other benefit to shooting with a converted digital camera is that you can use your viewfinder and settings as you would with a normal camera. I find I usually shoot in aperture-priority mode at f5.6-f11 and ISO100. You also have to set a custom white balance or all of your photos will have a red hue to them. This hue can be removed in post processing.
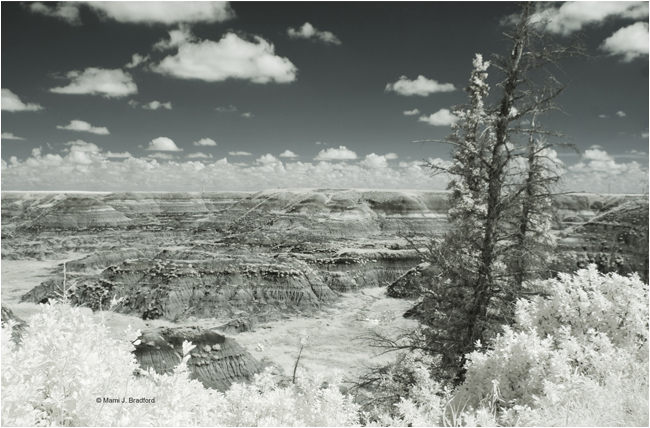
Horseshoe Canyon, Drumheller AB If you don’t know how to set a custom white balance on your camera consult your user’s manual. Once you’ve got that figured out, the best way to set the white balance is to photograph green grass. Fill the entire viewfinder with green grass and then take a photo. If your camera does not register the custom white balance you may have to underexpose slightly in order to get your camera to recognize the setting. With my D80 I had to underexpose by 2/3 of a stop in order for it to accept the setting.
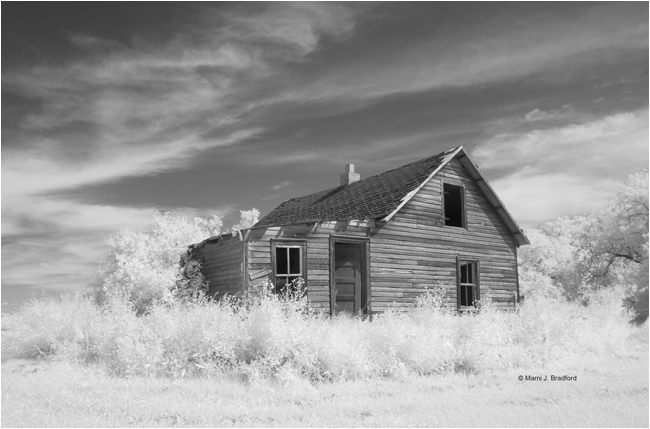
Abandoned farmyards and their buildings in rural Saskatchewan, of which there are many, are one of my favourite photographic subjects. I am sure most nature photographers already do this, but I will mention it anyway – shoot with a lens hood on your lens. It will prevent lens flare that is often so subtle it is not visible on the camera’s LCD, and there’s nothing more frustrating thinking that you got “the shot” only to get home, upload the photos to your computer and find flare that does nothing to enhance the photo.
All of my infrared photos are processed in Photoshop Elements to balance the hue and saturation or to add false colour where possible. For those that use Photoshop the channel swapping feature can be used to swap the reds and blues and achieve some striking false colour results.
Tranquility. The blue colour was enhanced in Photoshop Elements using the hue/saturation adjustment slider.
Park in Saskatoon
Editor comment: It is possible to simulate Infrared photographs using Photoshop after the fact, the procedure is [ Top ]
|
