How to Photograph in the Fog
by Dr. Robert Berdan
April 2, 2011
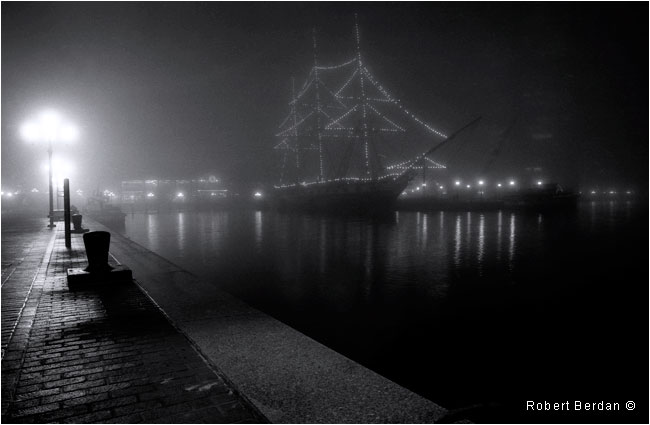
Baltimore Harbour, taken with an Olympus OM-4, 50 mm lens F11, about 8 seconds, Tri-X film, 1600 ISO developed
in Microdol - X with water bath - November, 1984.
Fog conjures up feelings of mystery, fear and awe. It acts like a giant diffuser subduing color and often creating an eerie glow around bright light sources. When I think of fog I think of night scenes, narrow streets with criminals waiting to pounce on their victims. Fog can certainly be dangerous if you travel by car or boat and perhaps it is this sense of discovering something alien in the fog that fascinates us. What ever it is, of all the the different conditions we encounter in photography fog is my favorite.
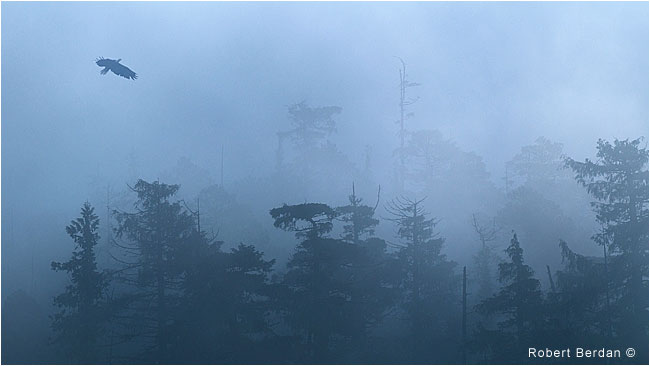
Eagle in the Fog, taken with 70-200 mm telephoto lens, Great Bear Rainforest, British Columbia from the back
of a boat - the Mothership III.
What causes Fog?
Fog consists of water droplets suspended in the air and forms when water vapor condenses on dust, ice and salt to form low lying clouds. Fog is similar to mist, but is more dense and its visibility is less then 1 Km. Fog forms when the difference between the temperature outside and the dew point (the temperature at which air must be cooled to condense into water) is less then 2.5° C. Fog forms frequently when a humid cool air mass moves under a warm air or when cool air moves over warmer water. The foggiest place in the world is off the coast of Newfoundland on the Grand Banks where the warm Gulf stream meets the colder Labrador current.
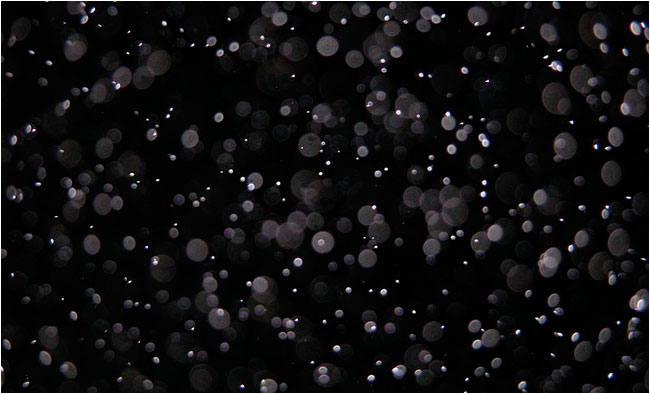
High speed photograph of Fog taken with a flash - source: Wikipedia Ben PCC
In Calgary, fog forms frequently during Spring and Fall and if the temperature drops below freezing can also result in Hoar frost (see article on Hoar frost photography by R. Berdan). Fog tends to form around the Bow river valley and low areas in farmers fields in the early morning hours and dissipates by around 10 am.
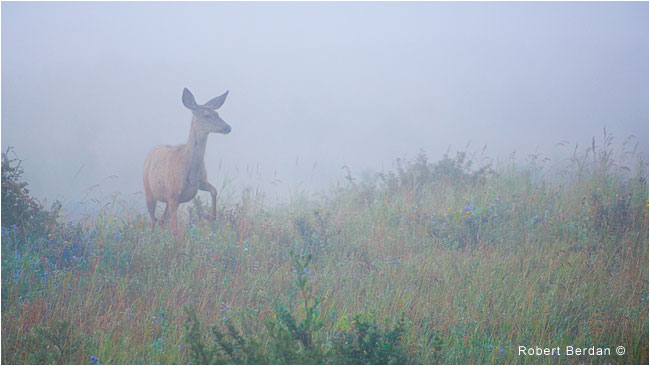
Deer coming out of the Fog on Bearspaw road north of Calgary in the early morning.

Fog is frequently encountered north of Calgary in fields during sunrise.

Spring time fog taken with 16-35 mm Zoom lens, Canon 5D Mark II, F16 Tripod, ISO 400, Exposure compensation +1 EV
Try to include a subject in the foreground to add contrast to your fog pictures.
Tips to take better Fog Photographs
Photographing in fog requires a few camera adjustments for best results:
- focus your lens manually as the auto focus function will generally not work in fog
- Increase your exposure compensation + 1 EV (exposure value, increase exposure 1 F-stop or shutter speed)
- use a tripod for steady shots and focus on elements in the foreground
- use camera RAW files so you can adjust white balance during processing, otherwise set white balance to cloudy
- position an element in the foreground e.g. fence pole, barn or other object to add a sense of depth
- avoid using a polarizing filter it will have little effect except to slow down your shutter speed
- shoot into the sun and try to find trees or other objects that form shadows that form crepuscular light rays.
- check the front of your lens for condensation and wipe if necessary
- if you are holding your camera without a tripod increase the ISO speed in order to use a faster shutter speed
- try fog scenes at night and include some lights for mood
- consider converting some of your fog images into black and white or tone them blue
One of the problems you may notice is that when you look at your digital files the fog may have a colour cast. Generally this is easy to fix in most image editing programs. In Photoshop Camera RAW use the eye dropper tool to neutral white balance and then manually add a little bit of blue color so it looks more natural.
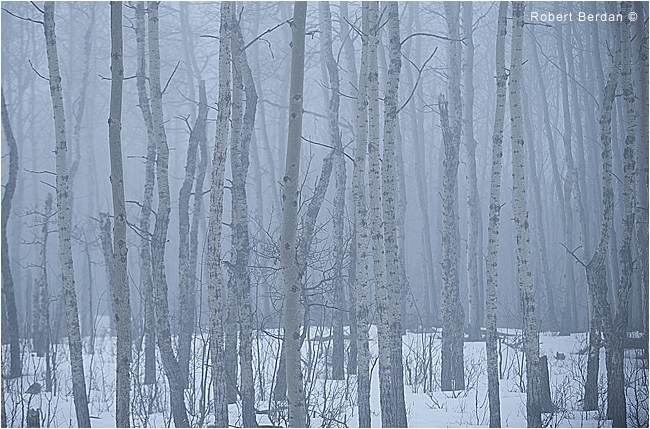
Aspen Forest with fog and slightly blue colour cast - 70-200 mm lens, Nikon D700 ISO 400. Grande Valley Road, AB

Lake of the Woods region in northern Ontario, Fog settled over the lake in early morning. 20-35 mm lens, Nikon D700, ISO 200.
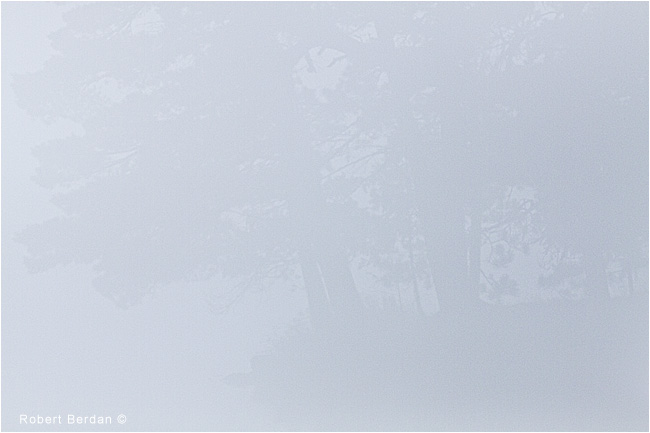
Extreme Fog - Island and trees barely visible on the lake, 300 mm F2.8 lens, Nikon D300. Lake of the Woods, Ontario.
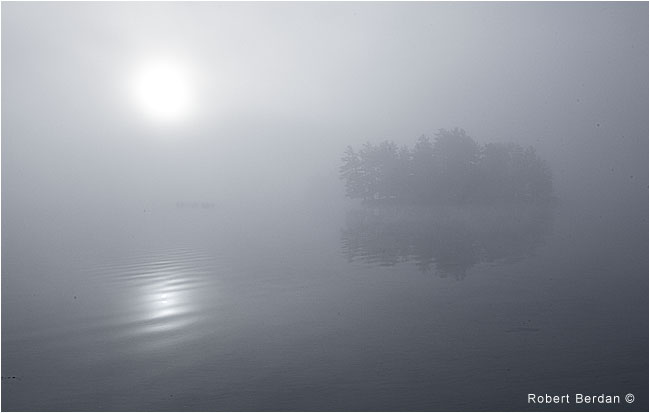
Same Island as above taken with a wide angle lens, 20-35 mm, Nikon D700. Lake of the Woods, Ontario
Processing of your Fog Images in Adobe Photoshop
A normal part of my workflow in Adobe Photoshop is to adjust and optimize the levels so I have a maximum black and maximum white tone and this improves the overall contrast of my images- see images below top before adjusting levels and bottom after adjusting levels. However, this something you do not want to do with pictures taken in the fog because you will lose the soft lighting. Below the top image looks more natural and includes no levels adjustments, the image below it has the levels optimized, but in the case of fog pictures does not look natural. Avoid levels adjustments if you want the soft flat lighting typical of fog scenes.
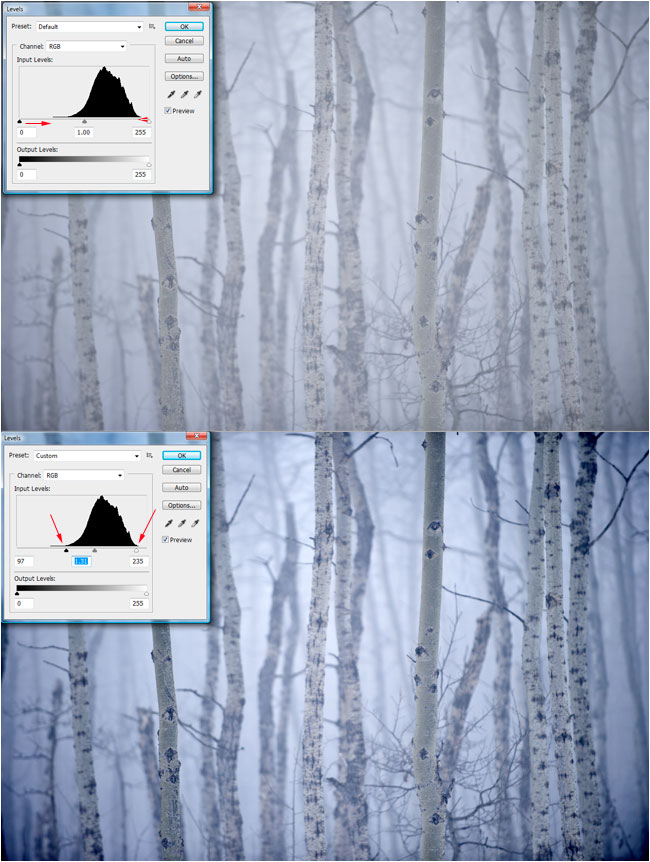
Do not optimize the levels for Fog photographs if you do the images will look more contrasty like the bottom image above.
Another suggestion to keep you fog pictures looking realistic is that if you correct the white balance leave in a little bit of blue light. The reason is that fog scatters blue wavelengths more than other colours. This blue cast is called the Tyndall effect in science and it is the reason our skies are blue on sunny days. Short wavelengths of light (e.g. blue scatter more then long wavelengths e.g. red). For this reason I try to leave a little bit of a blue cast in most of my color photographs of fog so they appears more natural. How strong a blue cast you leave is up to you - sometimes I remove the blue cast if the scene was taken in the middle of the day (e.g. photo directly below).

North of Strathmore, Alberta prairie creek in March. 17-55 mm lens, Nikon D300, Tripod.

Grand Valley Road, Alberta West of Cochrane, AB - White tail deer jump a fence 300 mm F2.8, Nikon D300 on tripod

Kayaking in rain and fog in the Great Bear Rainforest, British Columbia - approaching the Mothership III

Kayaking early morning in the Great Bear Rainforest, British Columbia, Nikon D300 with 18-200 mm Zoom Lens.

Autumn Fog scene, Lake of the Woods, Ontario. 70-200 mm Lens, Nikon D300.
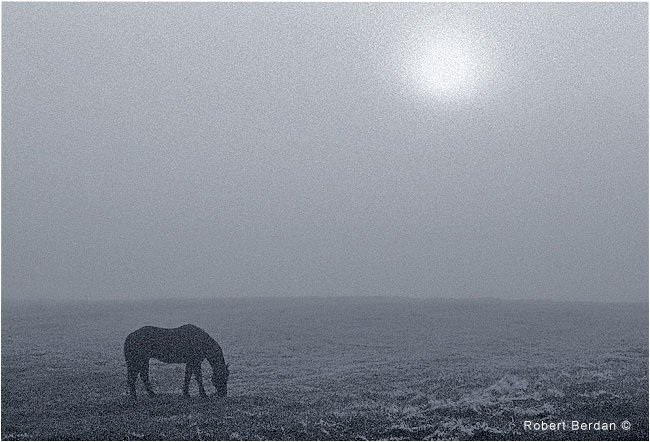
Horse in field around sunrise, north of Calgary. 70-200 mm F2.8 lens, Nikon D300.

Boardwalk, Baltimore Harbour, Maryland, USA - 1984. Photographed on Tri-X 400 BW film with Olympus, OM-4 50 mm
lens set to F11, exposure approx. 2-sec , on minipod, Camera set to ISO 1600.
Is it possible to create Fog using Photoshop?
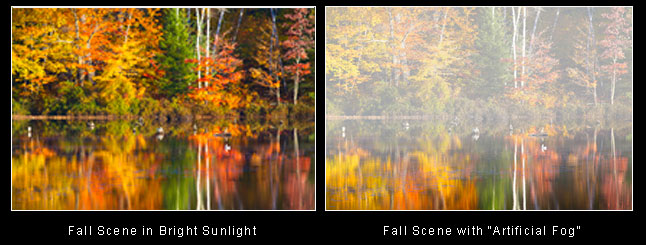
In short yes it is, and even though I am a fan of using Photoshop I often remind my students that just because you can do something does not mean you should. How realistic the fog looks will depend on the image you choose and your Photoshop skills. A basic technique for adding fog is described below:
- Create a Colour Fill layer above the image in the layers palette and set it to white.
- Reduce the opacity of this layer to about 50% and
- using a black to white linear gradient - drag from the bottom of the image halfway up the image, make sure the colour fill mask is selected when you add the gradient.
For a more detailed description of the steps see the link below "Create Artificial fog with Photoshop".
If you don't get fog where you live very often you may want to consider visiting some place where fog occurs frequently, like the West coast, Newfoundland or Calgary in the Spring time. If you want to try some night time photography with fog a tripod is a must. On business trips I often take a small plastic tripod that fits in my pocket and simply place the camera and tripod on the ground and use my camera's self timer. If you want to add a bit more mood to some of your photographs there is no easier way then shooting in the fog. RB
Additional Links & Resources
[ Top ]
|


