Sky Replacement: From Washed Out to Wow
(Photoshop Tips & Tricks)
by Dr. Wayne Lynch
January 29th, 2015
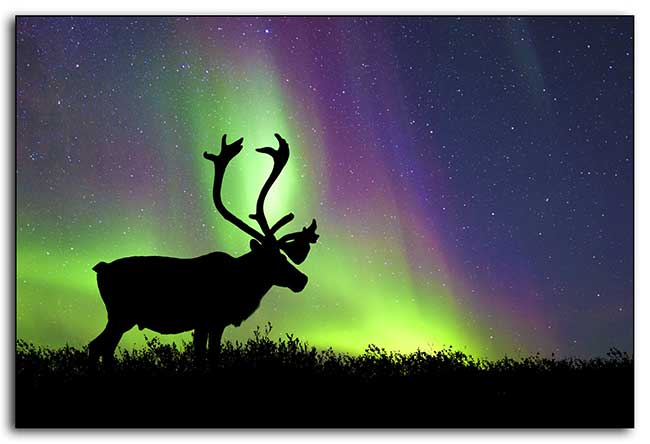
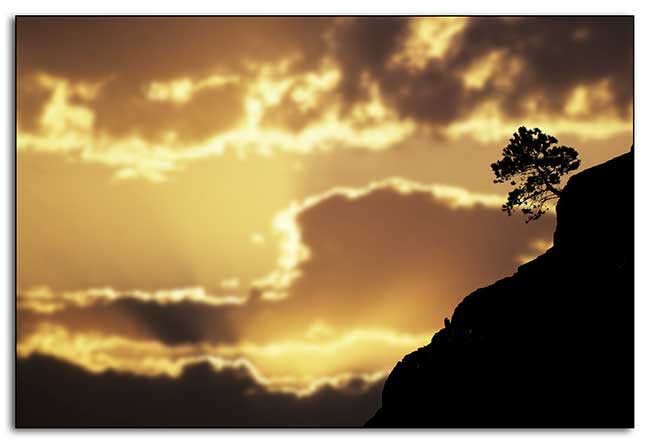
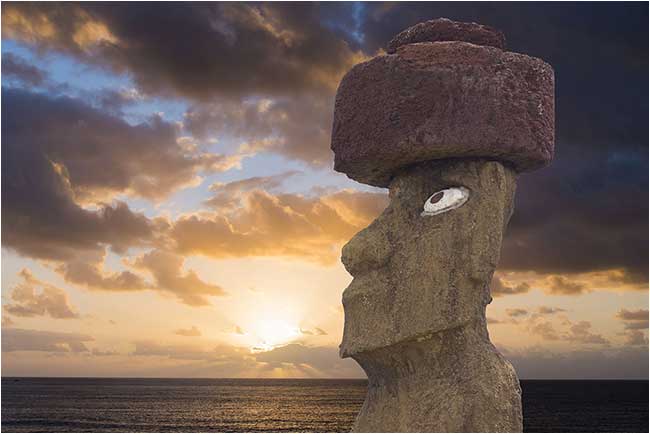
A dramatic silhouette set against a fiery sky can be an exciting photograph to capture. But if you have the same luck as me, often when the subject is perfect the sky ends up being deadly dull, or when the sky is stunning the only subject in sight is my road-weary tripod. The good news is that Photoshop can save the day. Now when I see a beautiful sky or an inspiring silhouette I take the shots and combine them later using the artistic magic of digital manipulation. Is the final image a truthful record of what I saw? Not at all, and I never claim that it is. I see this aspect of digital manipulation as an artistic interpretation of a subject; no less or no greater than a painter would create. These combined images are as much a product of imaginative pre-visualization as they are of a mastery of Photoshop. In many cases, I imagine the shots in the field long before I ever combine them in my computer.
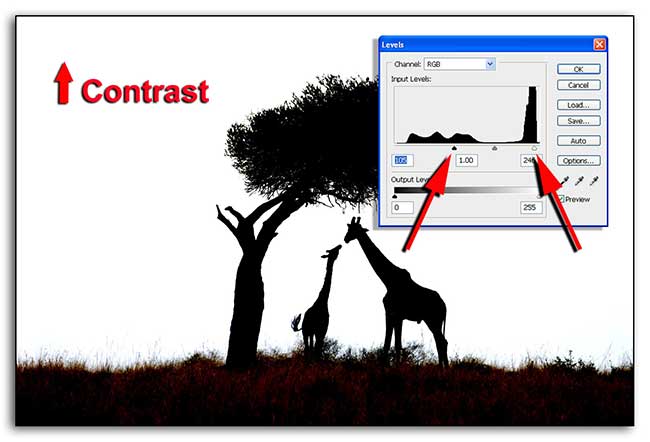
Let’s consider this photograph of two giraffes nosing under an acacia tree in the Serengeti Plains of East Africa. It’s a contrast nightmare. The sky is washed out and there is very little detail in the shadows. What can you do with such a photograph? Some of you might curse and drive away. Or you could get creative and replace the sky as I did in photo #2.
Have I got your attention yet? Here are the easy steps that I used to create the finished image which by the way is my best selling African photograph. The first step in converting washed-out-to-wow is to increase the contrast in the original image.
To do this you open a Levels Adjustment Layer and move the white slider to the left which brightens the highlights and move the black slider to the right which darkens the shadows. The resulting image will have heightened contrast with very little shadow detail and a completely overexposed sky. Notice that the sliders in the illustration are now located inside the edges of the histogram, which means you have "clipped" some of the pixels and removed all the detail from them. But, you'll soon see it doesn't matter. To create a successful composite you need to combine the silhouette with a dramatic sky. I have a special folder in my computer where I store sky photographs of every description for these situations. Once you select a background sky, the next step is to combine the two images. First you pull both images into Photoshop, then use the Move Tool (keyboard shortcut "V") to combine them. It doesn't matter which image you put on top. When you open the Layers Palette (Window > Layers) you will see one image stacked on top of the other.
The next step is to change the Blending Mode from Normal to Multiply. If you click on the drop-down menu a list of options will appear, one of which is Multiply. Flatten the image and you're done.
Let’s look at another example.
I purposefully took this bland shot of a trio of Florida sandhill cranes knowing that I would later replace the sky. I followed the same steps as I did with the pair of giraffes. First I heightened the contrast with a Levels Adjustment Layer, then I used the Move Tool to combine the silhouette with a dramatic sky, and finally I changed the Blending Mode from Normal to Multiply. This is how the composite turned out.
When making composites such as the ones with the giraffes and the cranes the starting images didn't need to be the same size as the background skies. You can also Transform (Edit > Free Transform) either image to shrink or enlarge it. All of the exciting-to-follow details are in my ebook Easy-Make Photoshop Recipes for Photographers. In the combined shot of the sandhill cranes, the sky is sharply focused as are the cranes. In a real photograph, one or the other would be slightly out of focus because the depth of field would rarely be great enough to keep both of them sharp. This fact alone betrays the image as a composite.
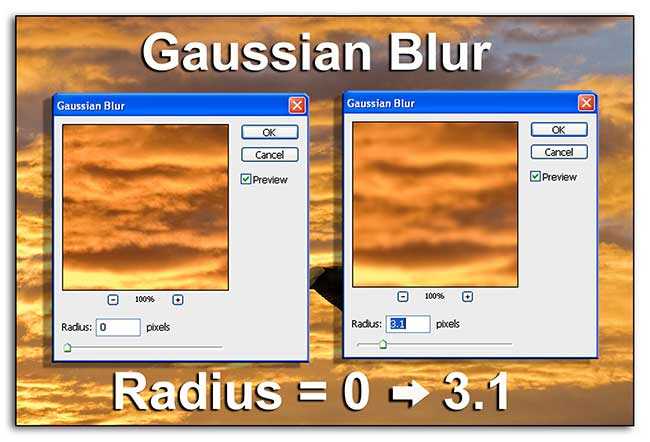
However, if you feel in a deceptive mood you can easily blur the background slightly by highlighting the sky layer in the Layers Palette and then go Filter > Blur > Gaussian Blur. The amount of blur you add is personal. The more blur you add the more the image looks as if it was taken with a large aperture setting on the lens and the composite is then very difficult to distinguish from the "real thing".
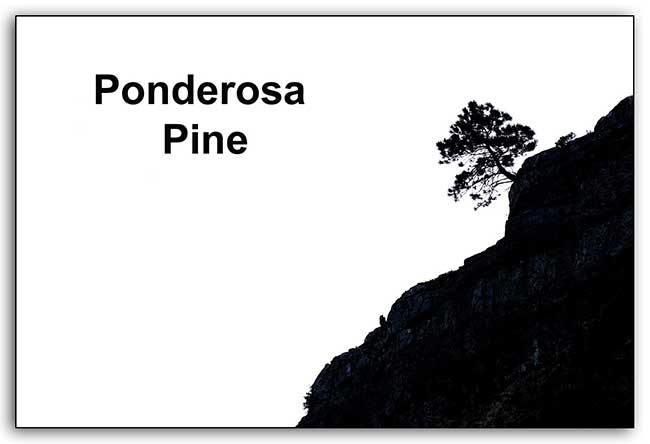
Photo #8 illustrates how altering the Gaussian blur setting affects the appearance of the sky. On the left, the radius is set at zero which yields a sharply focused sky whereas with a radius setting of 3.1 the sky is blurry. Sky replacement is such great fun because it is an easy technique to master and the results can be stunning. I've included a few more examples below to hopefully whet your appetite to try some composites yourself.
This technique and dozens more are included in my ebook Easy-Make Photoshop Recipes for Photographers available below.
Click on the Picture Below
Purchase Wayne's "Easy-Make Photoshop Recipes.
E-book by Dr. Wayne Lynch - Learn more $27.95
Bio: Dr. Lynch is a popular guest lecturer and an award-winning science writer. His books cover a wide range of subjects, including: the biology and behaviour of owls, penguins and northern bears; arctic, boreal and grassland ecology; and the lives of prairie birds and mountain wildlife. He is a fellow of the internationally recognized Explorers Club - a select group of scientists, eminent explorers and distinguished persons, noteworthy for their contributions to world knowledge and exploration. He is also an elected Fellow of the prestigious Arctic Institute of North America.
Dr. Wayne Lynch
3779 Springbank Drive S. W.
Calgary, AB, T3H J5
E-mail: lynchandlang@shaw.ca
Website: www.waynelynch.ca
Read other Articles on the Canadian Nature Photographer by Dr. Wayne Lynch
1. The Blind Photographer by Dr. Wayne Lynch
2. Manatee Madness by Dr. Wayne Lynch
3. Going After Gators by Dr. Wayne Lynch
4. Oomingmak - The Bearded One -by Dr. Wayne Lynch
[ Top ]


